What is photomechanics?
How can we measure the deformation of a stratospheric balloon composed only of an envelope a few micrometers thick? It is impossible to attach a sensor to it because this would distort the envelope’s behavior… Photomechanics, which refers to measurement methods using images and computer analysis, makes it possible to measure this deformation or a material’s temperature without making any contact. Jean-José Orteu, a researcher in artificial vision for photomechanics, control and monitoring at IMT Mines Albi, explains the principles behind photomechanical methods, which are used in the aeronautics, automotive and nuclear industries.
What is photomechanics?
Jean-José Orteu: We can define photomechanics as the application of optical measurements to experimental mechanics and, more specifically, the study of the behavior of materials and structures. The techniques that have been developed are used to measure materials’ deformation or temperature.
Photomechanics is a relatively young discipline, roughly 30 years old. It is based on around ten different measurement techniques that can be applied to both a nanoscale and the dimensions of an airplane and to both static and dynamic systems. Among these different techniques, two are primarily used: the digital image correlation (DIC) method for measuring deformations, and the infrared thermography method for measuring temperatures.
How are these two techniques implemented?
JJO: For the DIC, we position one or several cameras in front of a material: only one for a planar material that undergoes in-plane deformation and several for the measurement of a three-dimensional material. The cameras film the material as it is deformed under the effect of mechanical stress and/or heat. Once the images are taken, the deformation of the material is calculated based on the deformation of the images obtained: if the material is deformed, so is the image. This deformation is measured using computer processing and is extrapolated to the material.
This is referred to as the white light method because the material is lit by an incoherent light from standard lighting. Other more complex photomechanical techniques require the use of a laser to light the material: these are referred to as interferometric methods. They are useful for very fine measurements of displacements in the micrometer or nanometer range.
The second most frequently used technique in photomechanics is infrared thermography, which is used to measure temperatures. This uses the same process as the DIC technique, with the initial acquisition of infrared images followed by the computer processing of these images to determine the temperature of the observed material. Calculating a temperature using an image is no easy task. The material’s thermo-optical properties must be taken into account as well as the measuring environment.
With all of these techniques, we can analyze the dynamic evolution of the distortion or temperature. The material is therefore analyzed both spatially and temporally.
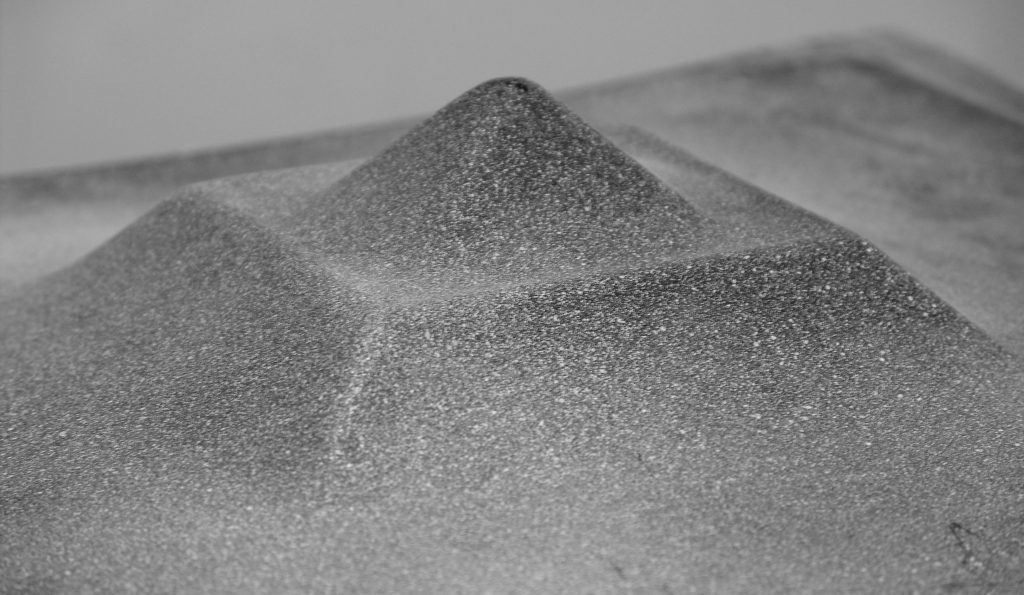
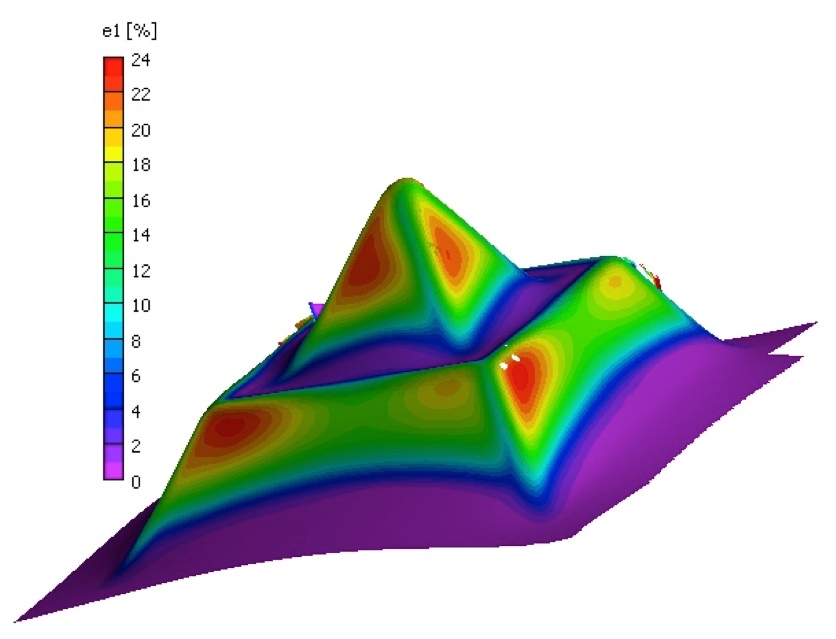
Stereo-DIC measurement of the deformation field of a sheet of metal shaped using incremental forming
What type of camera is used for these measurement methods?
JJO: While camera resolution influences the quality and precision of the measurements, a traditional camera can already obtain good results. However, to study very fast phenomena, such as the impact of a bird in flight on an aircraft fuselage, very fast cameras are needed, which can take 10,000, 100,000 or even 1,000,000 images per second! In addition, for temperature measurements, infrared-sensitive cameras must be used.
What is the value of optical measurements as compared to other measurement methods?
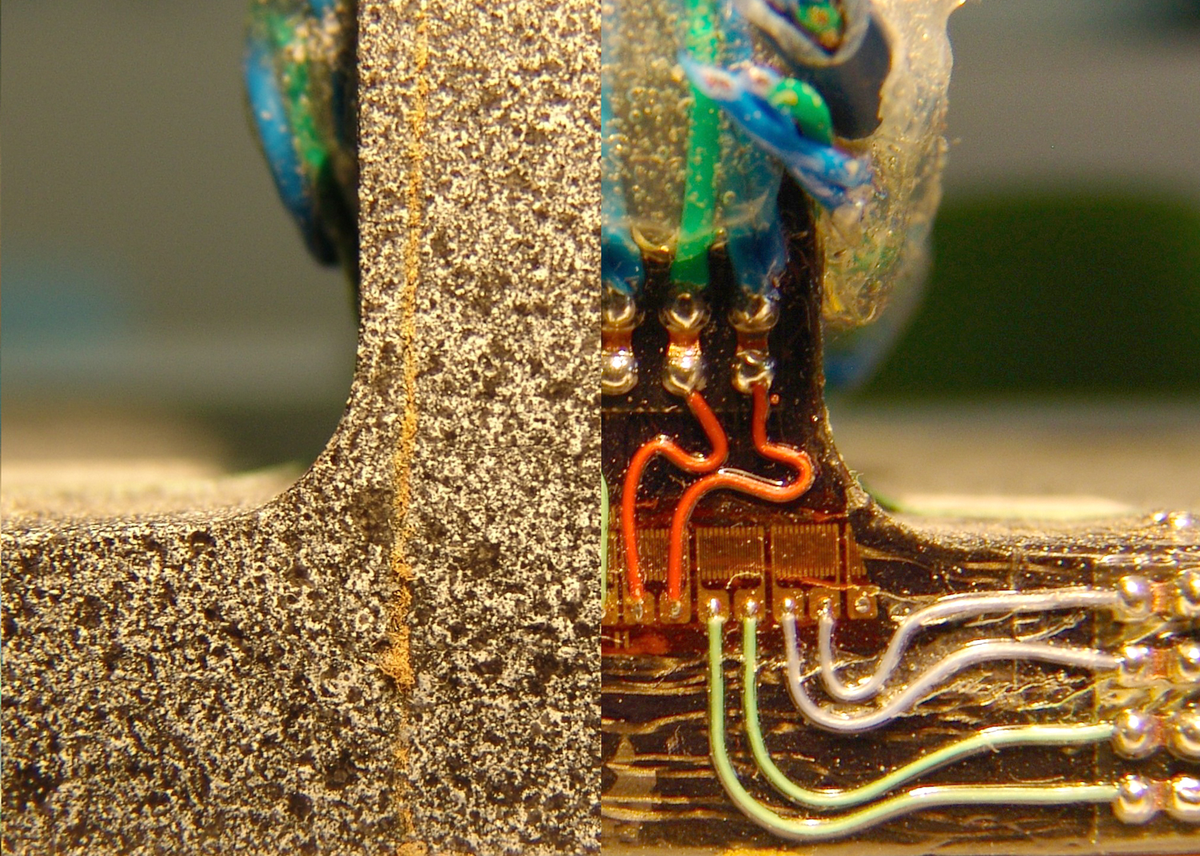
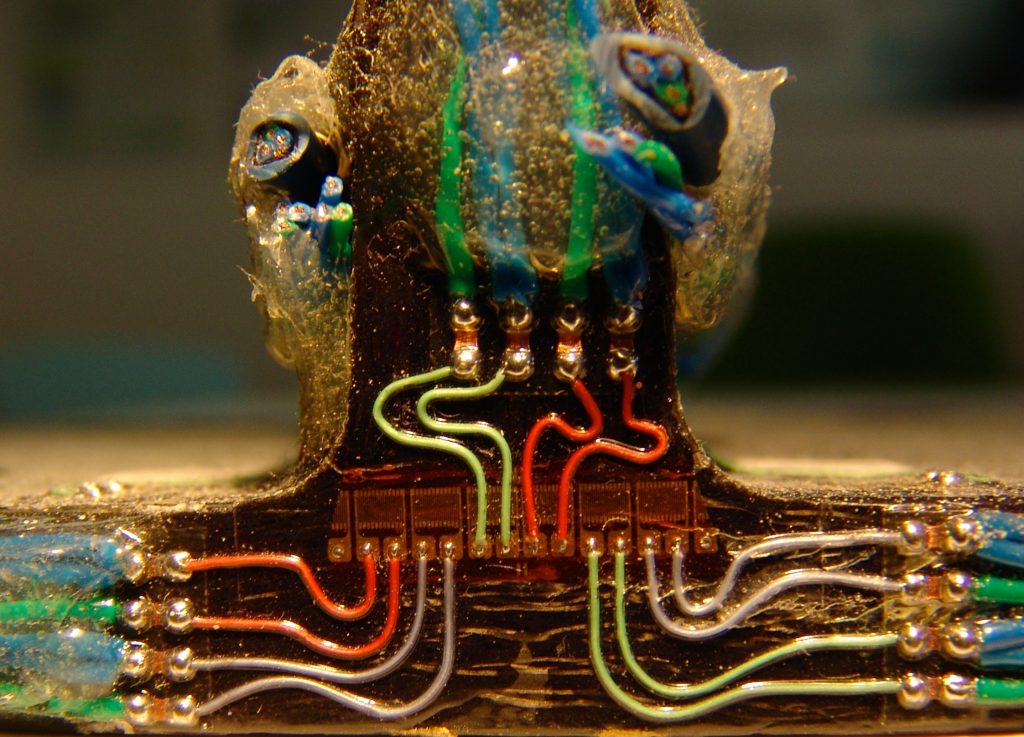
JJO: Traditionally, a strain gauge is used to measure the deformation of a material. A strain gauge is a sensor that is glued or welded to the surface of the material to provide an isolated indication of its deformation. This gauge must be as nonintrusive as possible and must not alter the object’s behavior. The same problem exists for temperature measurements. Traditional techniques use a thermocouple, a temperature sensor that is also welded to the surface of the material. When the sensors are very small compared to the material, they are nonintrusive and therefore do not pose a problem. Yet for some applications, the use of contact sensors is impossible. For example, at IMT Mines Albi we worked on the deformation of a parachute when it inflates. But the canvas contained a lining only a few micrometers thick. A gauge would have been difficult to glue to it and would have greatly disrupted the material’s behavior. In this type of situation, photomechanics is indispensable, since no contact is required with the object.
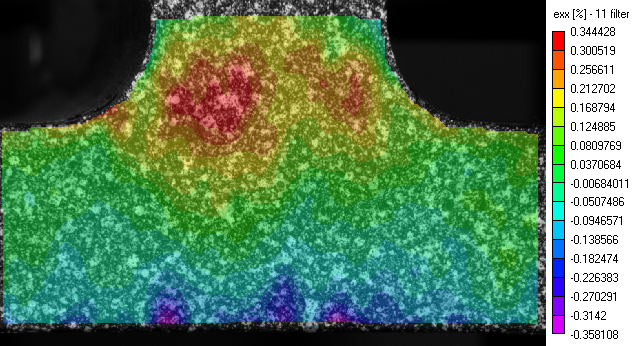
Finally, both the gauge and the thermocouple offer only isolated information, only at the spot where the sensor is glued. You won’t get any information concerning a spot only ten centimeters away from the sensor. However, the problem in mechanics is that, most of the time, we do not know exactly where we will need information about deformation or the temperature. The risk is therefore that of not welding or gluing the sensors in the spots where the deformation or temperature measurement is the most relevant. The optical methods also offer field information: a deformation field or temperature field. We can therefore view the material’s entire surface, including the areas where the deformation or temperature gradient is more significant.
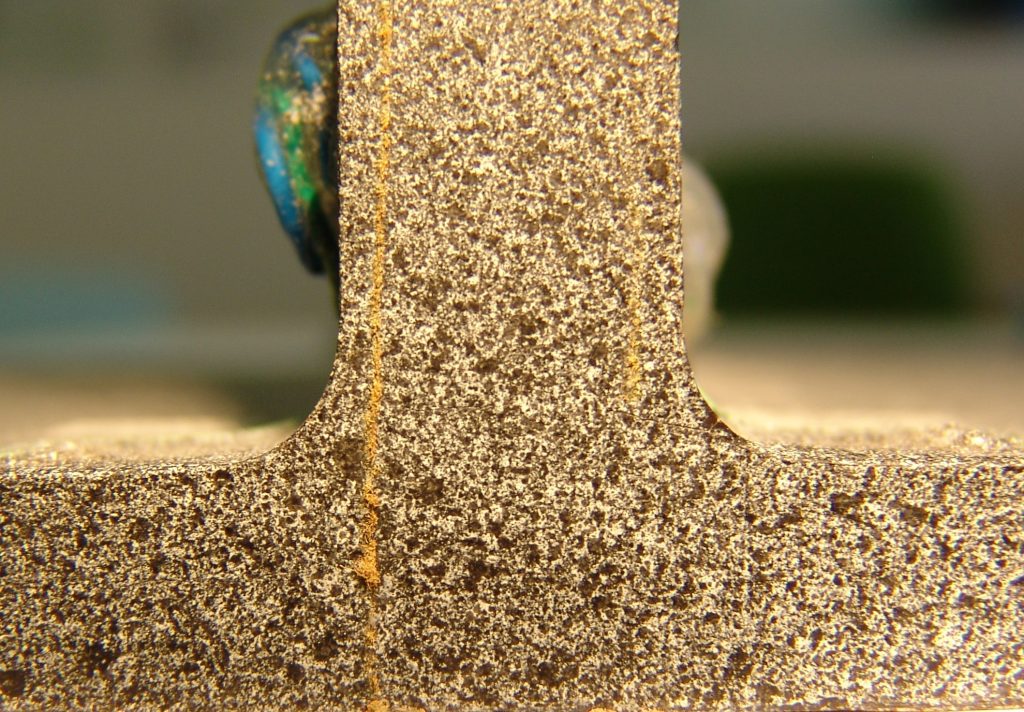
Top, a material instrumented with gauges (only 6 measurement points). Middle, the same material to which speckled paint has been added to implement the optical DIC technique. Bottom, the deformation field measured via DIC (hundreds of measurement points).
What are the limitations of photomechanics?
JJO: In the beginning, photomechanical methods based on the use of cameras could not measure surface deformations. But over the last five or six years, an entire segment of photomechanics has begun to focus on deformations within objects. These new techniques require the use of specific sensors, tomographs. They make it possible to take X-ray images of the materials, which reveal core deformations after computer processing. The large volumes of data this technique generates raise big data issues.
In terms of temperature, the core measurement without contact is more complicated. We recently defended a thesis at IMT Mines Albi on a method that makes it possible to measure the temperature in a material’s core based on the fluorescence phenomenon. The results are very promising, but the research must be continued to obtain industrial applications.
In addition, despite its many advantages, photomechanics has not yet fully replaced strain gauges and thermocouples. In fact, optical measurement techniques have not yet been standardized. Typically, when measuring a deformation with a gauge, the method of measurement is standardized: what type of gauge is it? How should it be attached to the material? A precise methodology must be followed. In photomechanics, whether in the choice of camera and its calibration and position, or the image processing in the second phase, everything is variable, and everyone creates his or her own method. In terms of certification, some industrial stakeholders therefore remain hesitant about the use of these methods.
There is also still work to be done in assessing measurement uncertainties. The image acquisition chain and processing procedure can be complex, and errors can distort the measurements in any stage. How can we ensure there are as few errors as possible? How can we assess measurement uncertainties? Research in this area is underway. The long-term goal is to be able to systematically provide a measurement field with a range of associated uncertainties. Today, this assessment remains complicated, especially for non-experts.
Nevertheless, despite these difficulties, the major industries that need to define the behavior of materials, such as the automotive, aeronautics and nuclear industries, all use photomechanics. And although progress must be made in assessing measurement uncertainties and establishing standardization, the results these optical methods achieve are often of better quality than those of traditional methods.


Leave a Reply
Want to join the discussion?Feel free to contribute!